
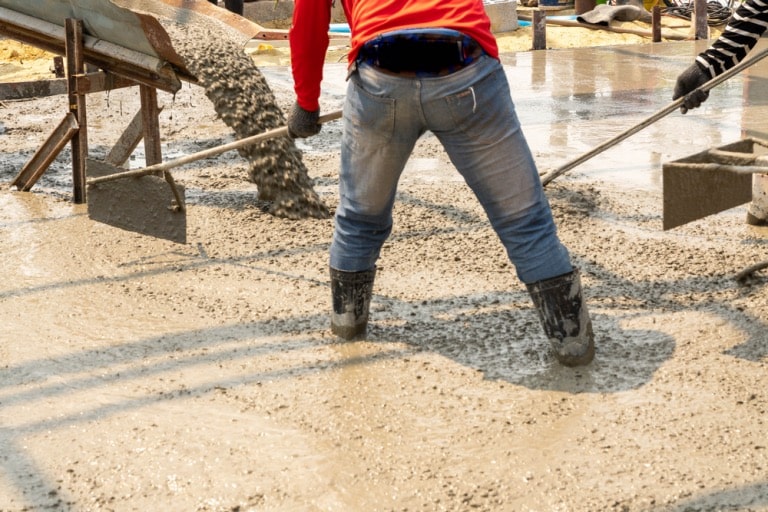
Placing concrete in winter can be a challenging task. Cold weather can hinder the curing process, leading to weakened structures and costly repairs. Whether you’re a professional contractor or a DIY enthusiast, knowing how to handle concrete in winter conditions is crucial for success. Winter concreting requires extra precautions to ensure strength and durability.
The key to success lies in understanding the challenges and applying the right techniques. From temperature control to proper insulation, every step matters. Let’s delve into seven essential tips to help you place concrete correctly during the frosty months. These tips will ensure your projects stand strong, even in the harshest weather.
1. Pre-Heat the Subgrade and Forms
One of the first steps is to pre-heat the subgrade and forms. Cold ground can suck the heat out of the concrete, slowing the curing process. Pre-heating ensures the concrete remains at an optimal temperature for setting.
- Use ground heaters or heated blankets to warm up the area.
- Ensure the forms are also warmed, especially if they are metal, as metal can conduct cold temperatures.
2. Use Hot Water in the Concrete Mix
Mixing concrete with hot water can help maintain a favorable temperature during placement. This technique is particularly useful in extremely cold conditions.
- Heat the water to around 140°F before mixing it with the cement.
- Monitor the temperature to avoid overheating, which can cause the mix to set too quickly.
3. Opt for Rapid Hardening Cement
Using rapid hardening cement is another effective strategy. This type of cement gains strength faster, reducing the time concrete is exposed to cold conditions.
- Choose high-early-strength cement for your mix.
- Follow manufacturer guidelines for best results and ensure compatibility with other additives.
4. Add Chemical Accelerators
Chemical accelerators can significantly speed up the curing process. These additives help the concrete gain strength more quickly, which is vital during cold weather.
- Calcium chloride is a common accelerator, but ensure it’s used in proper proportions.
- Be cautious of potential corrosion issues with steel reinforcements when using accelerators.
5. Insulate the Concrete
Proper insulation is critical to protect fresh concrete from freezing. Without insulation, the concrete can lose heat rapidly, leading to freezing and reduced strength.
- Use insulated blankets or polystyrene boards to cover the concrete.
- Ensure the insulation remains in place for several days, depending on the weather and concrete thickness.
6. Monitor the Temperature Regularly
Regular temperature monitoring is essential to ensure the concrete stays within the optimal range. Cold weather can cause rapid temperature drops, impacting the curing process.
- Use temperature sensors or data loggers to track the concrete temperature.
- Maintain a curing temperature between 50°F and 70°F for best results.
7. Cure the Concrete for Longer Periods
Winter concrete requires extended curing times. The cold weather slows down the hydration process, necessitating longer periods for proper curing.
- Keep the concrete insulated and moist for at least 7 days.
- In severe cold, consider curing for up to 14 days to ensure full strength development.
- Monitor the concrete curing process with smart sensors to ensure that you know when the concrete has reached it’s full strength
Concluding Thoughts
Concrete work in winter poses unique challenges but is manageable with the right techniques. By pre-heating the subgrade, using hot water, opting for rapid hardening cement, adding chemical accelerators, insulating the concrete, monitoring temperatures, and extending curing times, you can ensure successful concrete placement even in the coldest weather.
Each of these steps plays a crucial role in maintaining the integrity and durability of your concrete structures, allowing your projects to withstand winter’s harsh conditions.
